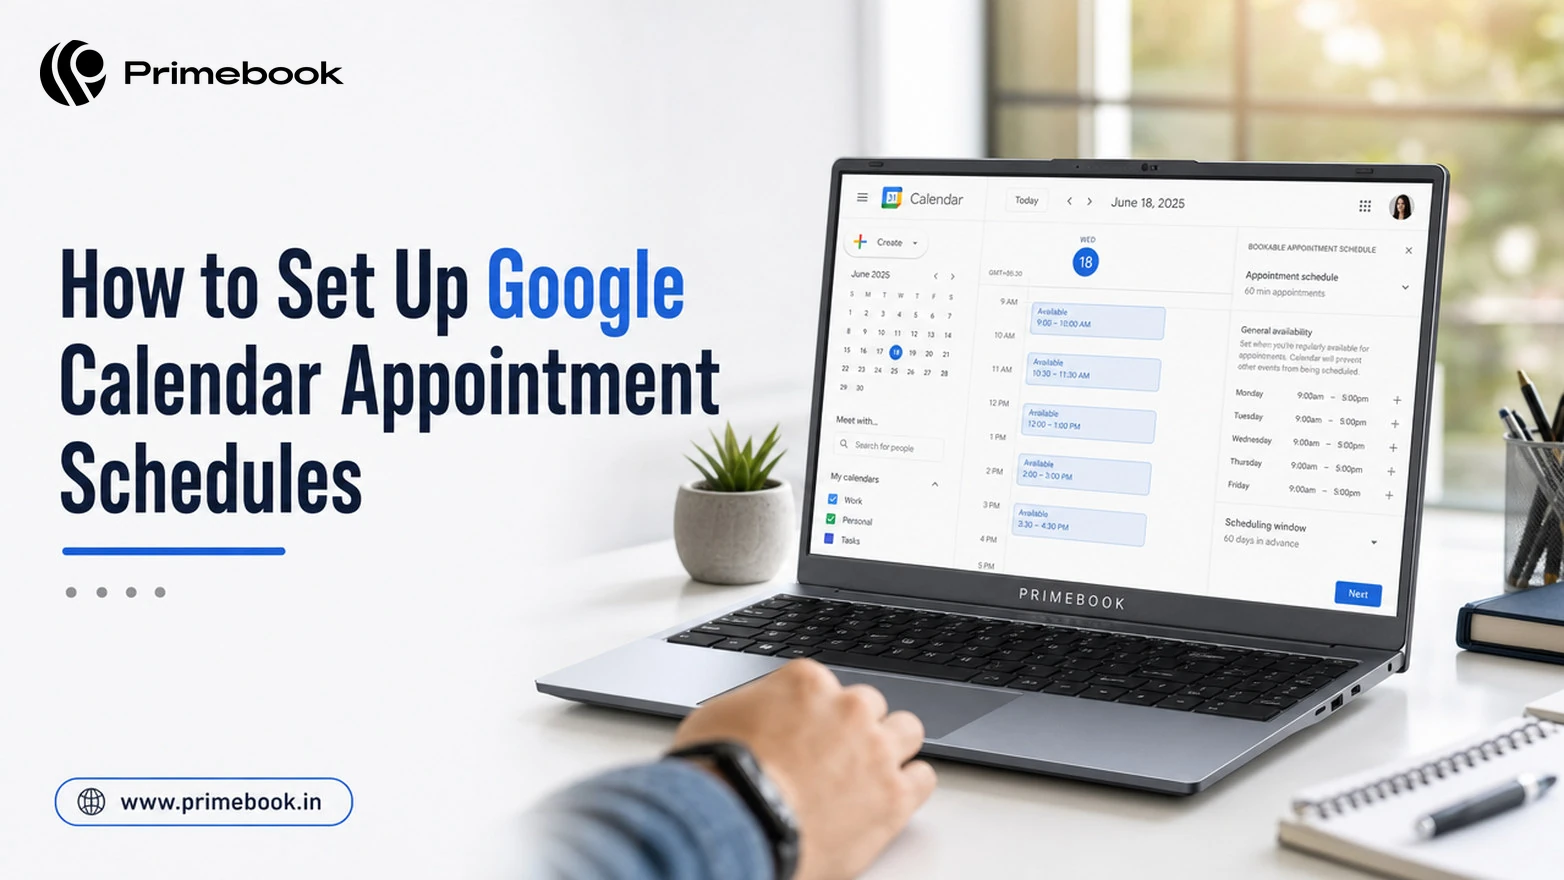
How to Set Up Google Calendar Appointment Schedules

Table of Contents
- Introduction
- What a Google Calendar Appointment Schedule Does
- Before You Start: What to Prepare
- How to Create an Appointment Schedule, Step by Step
- Settings That Shape Every Booking
- Sharing, Editing and Taking Payments
- Common Mistakes That Break Bookings
- Conclusion
- FAQ
Introduction
A tutor arranging demo classes, a freelancer scheduling discovery calls and a student organising peer-mentoring sessions often get stuck in the same loop: finding a time that works for everyone. Repeated messages can make even a simple 30-minute meeting unnecessarily difficult to arrange. The loop is not a discipline problem. It is a missing set of rules about when people can meet, for how long and how often.
A Google Calendar appointment schedule turns those rules into one booking link. This guide covers four things:
- Who can use the feature
- The exact setup path
- The settings that shape every booking
- The mistakes that quietly stop people from booking
What a Google Calendar Appointment Schedule Does
A Google Calendar appointment schedule creates a booking page that displays your available appointment slots. Visitors can choose a time, complete the booking form and receive a confirmation, while the appointment is added to your calendar. You can customise the schedule's title, duration, availability, booking questions and meeting location.
Before setting up a schedule, check your account's eligibility. Personal Google Accounts and eligible Google Workspace plans support appointment scheduling, although some features require a qualifying Google One or Google Workspace subscription. If "Appointment schedule" is missing from the Create menu, check your account type, subscription and any restrictions imposed by your organisation's administrator.
Before You Start: What to Prepare
- Account: Decide whether to use a personal Google Account or a work or school account. If your account is managed by an organisation, its administrator may restrict appointment scheduling or certain features.
- Slot length: Think of how long each appointment should last. You can select a preset duration or enter a custom duration, with Google Calendar supporting appointment slots as short as 5 minutes.
- Weekly availability: Note your regular available hours and fixed commitments, such as weekday evenings for tutoring or Saturday mornings for client calls.
- Meeting format and booking questions: Decide whether appointments will take place through Google Meet, in person, or by phone. Prepare any additional questions you need to ask before the meeting. Google Calendar collects the booker's first name, last name and email address by default.
- Device: Use a computer/laptop with a supported web browser. Google Calendar appointment schedules cannot be created through the Calendar app for Android or iOS, so complete the setup through the desktop web interface.
How to Create an Appointment Schedule, Step by Step
- Open Google Calendar in a desktop browser and sign in.
- Click Create at the top left, then select Appointment schedule. The "Bookable appointment schedule" panel opens on the left.
- Add a clear title, for example "Demo Class: Class 10 Maths". The title appears on your booking page, so make it clear what visitors are booking.
- Pick an appointment duration from the dropdown, or enter a custom duration.
- Set the days and times when people can book. Choose a recurring weekly schedule or a one-time schedule. To offer separate morning and evening slots on the same day, add another time period.
- Open Scheduling window to set how far in advance people can book and how much notice they must give. You can also set start and end dates for a recurring schedule, which is useful for a semester, a fixed course, or a time-limited project.
- Under Booked appointment settings, add buffer time between appointments and set a maximum number of bookings per day if needed.
- Choose the calendar where bookings should appear and enable Check calendars for availability to prevent clashes with existing events. If you've added co-hosts, include their calendars in the availability check to avoid double-bookings.
- Click Next to configure the booking page. Choose the meeting location, add a description, customise the booking form and configure confirmation emails or reminders where available. Click Save to publish the schedule.
Also Read:
Settings That Shape Every Booking
Default settings suit an average calendar. They do not suit a tutor with evening batches or a freelancer juggling three clients. These are the settings that change booking behaviour the most.
Sharing, Editing and Taking Payments
After saving, find the schedule under Booking pages in Google Calendar. Hover over the relevant page and select Copy link to share it through WhatsApp, email, social media or a course group. To make changes later, hover over the same page, select Options, then Edit.
You can also embed a booking page on a website. Google's sharing guide explains how to share a direct link or add a booking button or embedded page to a supported website.
Google Calendar supports paid appointment bookings through Stripe on eligible plans. To use this feature, connect an eligible Stripe account and configure the payment amount and cancellation policy in the appointment schedule settings. However, Stripe account availability in India is currently invite-only for new users, so check your eligibility before relying on this option. Google Calendar does not handle refunds automatically; organisers must manage them through Stripe in accordance with their cancellation policy.
Common Mistakes That Break Bookings
- Wrong calendar: bookings land on a calendar you rarely open, so it looks as if nobody booked.
- Mobile app: the creation panel sits in the desktop web version, so the option seems to vanish on a phone.
- Zero buffers with a high daily limit: every open slot fills up, which leads to back-to-back calls with no breathing room.
- Untested link: opening the page in incognito mode or a separate account shows exactly what a booker sees. Google's default four-hour minimum notice can prevent same-day slots from appearing immediately.
Conclusion
A well-run schedule is ultimately about more than managing time. It sets expectations before a conversation begins, gives people a clearer way to engage with you and reduces the effort involved in getting started. When arranging a meeting becomes simpler, more attention can go towards the reason for meeting in the first place. That is what makes thoughtful scheduling a useful habit, whether you work independently, teach, study or collaborate with a team.
Also Read:
- AI Email Automation: How to Send Emails Without Manual Work in 2026
How to Use Google AI Studio's Gemini API for Academic Projects?
How to Read a Google Scholar Citation Graph for Literature Review?
FAQ
Can I change my availability after sharing a booking link?
Yes. You can edit your appointment schedule to reflect changes in your availability. This is useful when your working hours change or you need to make time for other commitments. However, check your updated booking page to ensure it reflects the slots you intend to offer.
Can someone co-host my appointment schedule?
Yes. You can add a co-host, and bookings will appear on their calendar as well. This suits two mentors sharing office hours.
What does the person booking receive?
They receive an email confirmation and a calendar invitation. Reminder emails are available on eligible plans. If Google Meet is selected as the meeting location, the event includes a Meet link automatically.
Editorial Transparency: Primebook's editorial team uses a combination of human expertise, research, and AI-powered tools to create and refine content. Every article is reviewed and validated by our team before publication to ensure accuracy, clarity, and usefulness for readers.